Rose Bay
Our client reached out in December 2020, the committee had the option of trying to remediate the terrace and Garages or Demolish the entire structure and rebuild.
Issues:
Water leaking from terrace into the garages causing concrete cancer, structural cracks and damp walls.
The tenants found it hard to store items and even to park their car in the garage.
Schedule of Works:
-
DEMOLITION TO THE GARAGE ROOF / TERRACE EXISTING PAVER SYSTEM
-
WATERPROOFING TO GARAGE ROOF / TERRACE
-
TREATING THE WALLS & PAINTING (CLASS 2 MEMBRNAE)
-
REMEDIATE UP TO 8 STEEL EXPOSED IN THE CONCRETE SLAB INSIDE THE GARAGE.
-
TWO DOWNPIPE INSTALLATION (INSTALLED BY REGSITERED PLUMBER)
-
VENTILATION BRICK (INSTALLED BY REGSITERED BRICKLAYER)


Terrace
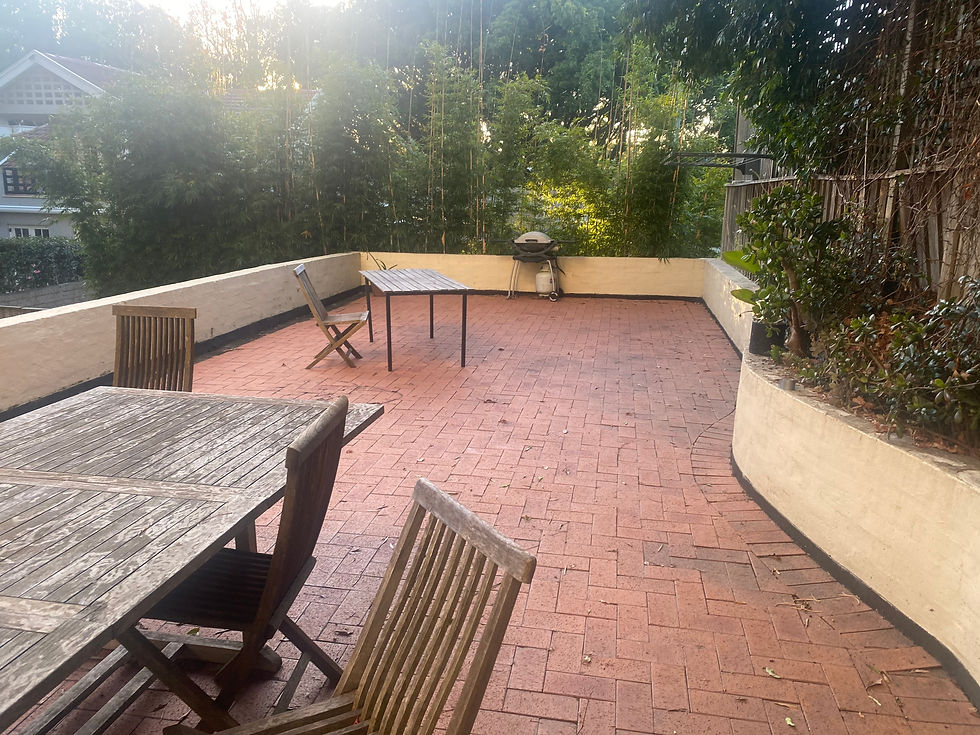
We removed the existing paver & screed to find a single layer waterproof membrane, as we removed the membrane, we found another brick paver. We removed one of the old brick pavers and inspected the substrate.
The substrate was a solid concrete substrate.
No primer was applied by the original waterproofer.
The termination points where not sealed and no bond breaker was present. When the old pavers where exposed; It rained and the slab leaked like a sieve into the garages below.
We found several 20mm & 50mm outlets above the old pavers, 7 in total. All of which are not sealed on the inner leaf of brick but are rendered shut on the outer leaf.
Resulting in water penetrating the failed waterproof membrane, which then finds its way to the outlets. Which then has nowhere to go but into the brick cavity, resulting in cracking of the render and dampness in wall & rusted steel in the slab below.
We installed two coats of Epoxy Primer & sealed all joints in the paver + termination points with Mastic, and then applied two coats of membrane.
Flood test showed us, water was still holding on the roof with zero leaks in the garage(s).
Tiling
Tiler applied the sand & cement screed with Efflock. We allowed the recommended 5 days before tiling; on the 4th day we applied a coat of acrylic membrane.
Tile installed proceeded, weather stopped him for 3 days and we covered the tiles with plastic to protect the tile. Once the grout was finished 3 days later our silicone guy sealed the expansion joints and termination points with compatible ardex silicone (Magellan Grey)
Parapet wall & external wall
Variation 2 PAINTING - GLOBALCOTE IS CLASSED AS A CLASS 1 WATERPROOFING MEMBRANE - Colour is a mid lustre.
Works carried out while screed naturally dried.
Internal Garage – Painting Walls
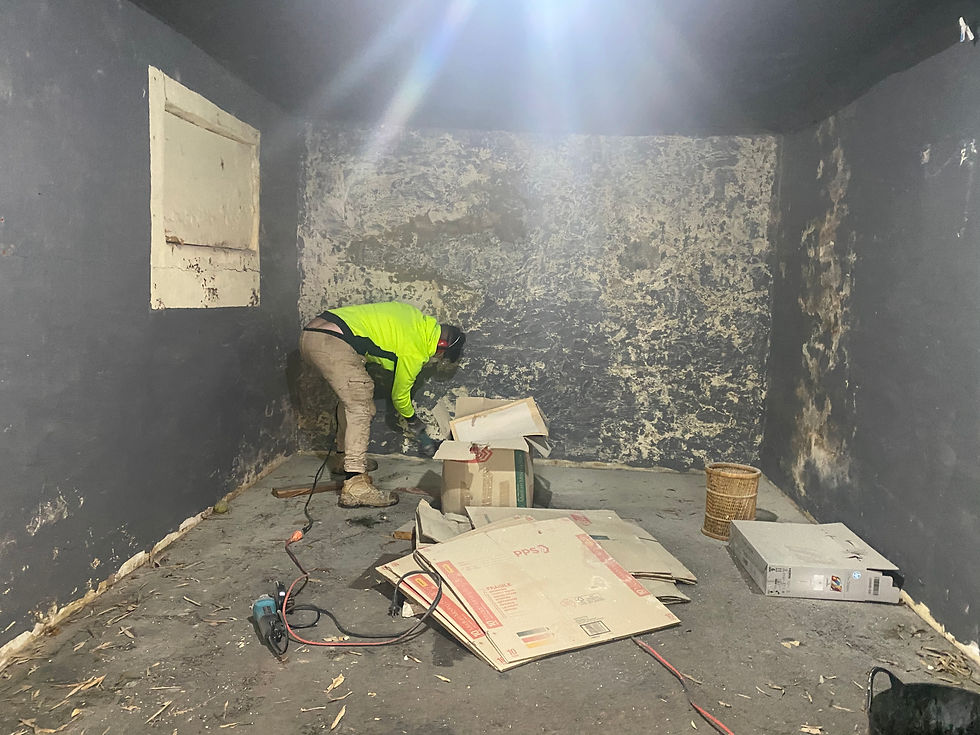
This area has been the most drawn process, we did not expect the walls to be in such a bad condition. We decided to apply the Negative waterproof membrane to each of the south facing wall(s), we did not allow for this in our proposal but we proceed as it was the correct process. The neighbour has large trees & soil backed directly against the garage walls which is leading to the large cracks in some walls and constant hydro pressure. This is the reason Negative waterproof membrane was applied.
Once the walls in each garage was grinded, water continued to seep from the wall. We treated the stained section(s); applied the primer & 2-3 coats to the walls.
We found certain section(s) to stain through the paint, we scrapped the section back and applied two coats of stain blocker. Added another coat of paint to wall.
If staining is to continue, we will return in 6 weeks to inspect, and potentially repaint.
We could not apply Negative waterproof membrane to all the wall(s) because it would trap the moisture eventually leading to a breakdown in the integrity of the walls.
Internal Garage – Painting Ceiling
Like the walls; we did not expect the ceiling to be in such a bad condition, in David’s garage above the door, the steel is now lower in than concrete slab. There is a crack in the brick wall which shows the movement. We had to install plywood to the ceiling to protect against the rusting and lack of concrete.